
Today I wanted to share with you how I edit the photos that appear on Espresso and Cream. It goes without saying that it is much easier to take a good photo with favorable light rather than try to correct the photo later in Photoshop or another photo editing software. However, sometimes I find that my photos need a little help to appear as vibrant and tasty as they do in real life.
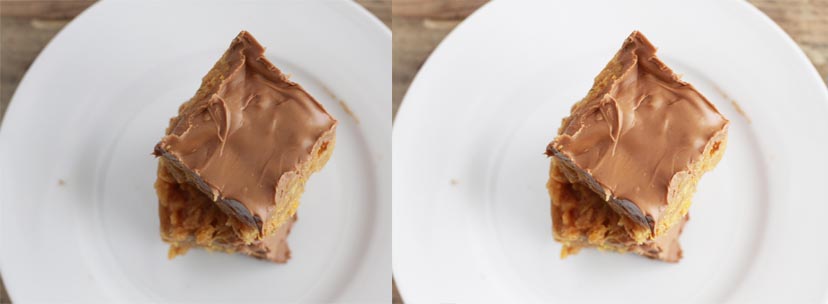
I hesitate to share this with you, since I am in no way an expert in Photoshop or photo editing. But there are a few basic steps/tools I use on a regular basis that make a big difference in the way my photos look. Take, for example the photo above. The photo on the left is an example of what a photo straight out of my camera looks like, prior to editing. On its own, it doesn’t look all that bad. But when you compare it to the “after” photo on the right, the original appears quite dull, doesn’t it?
Here’s how I brightened and enlivened my original photo…
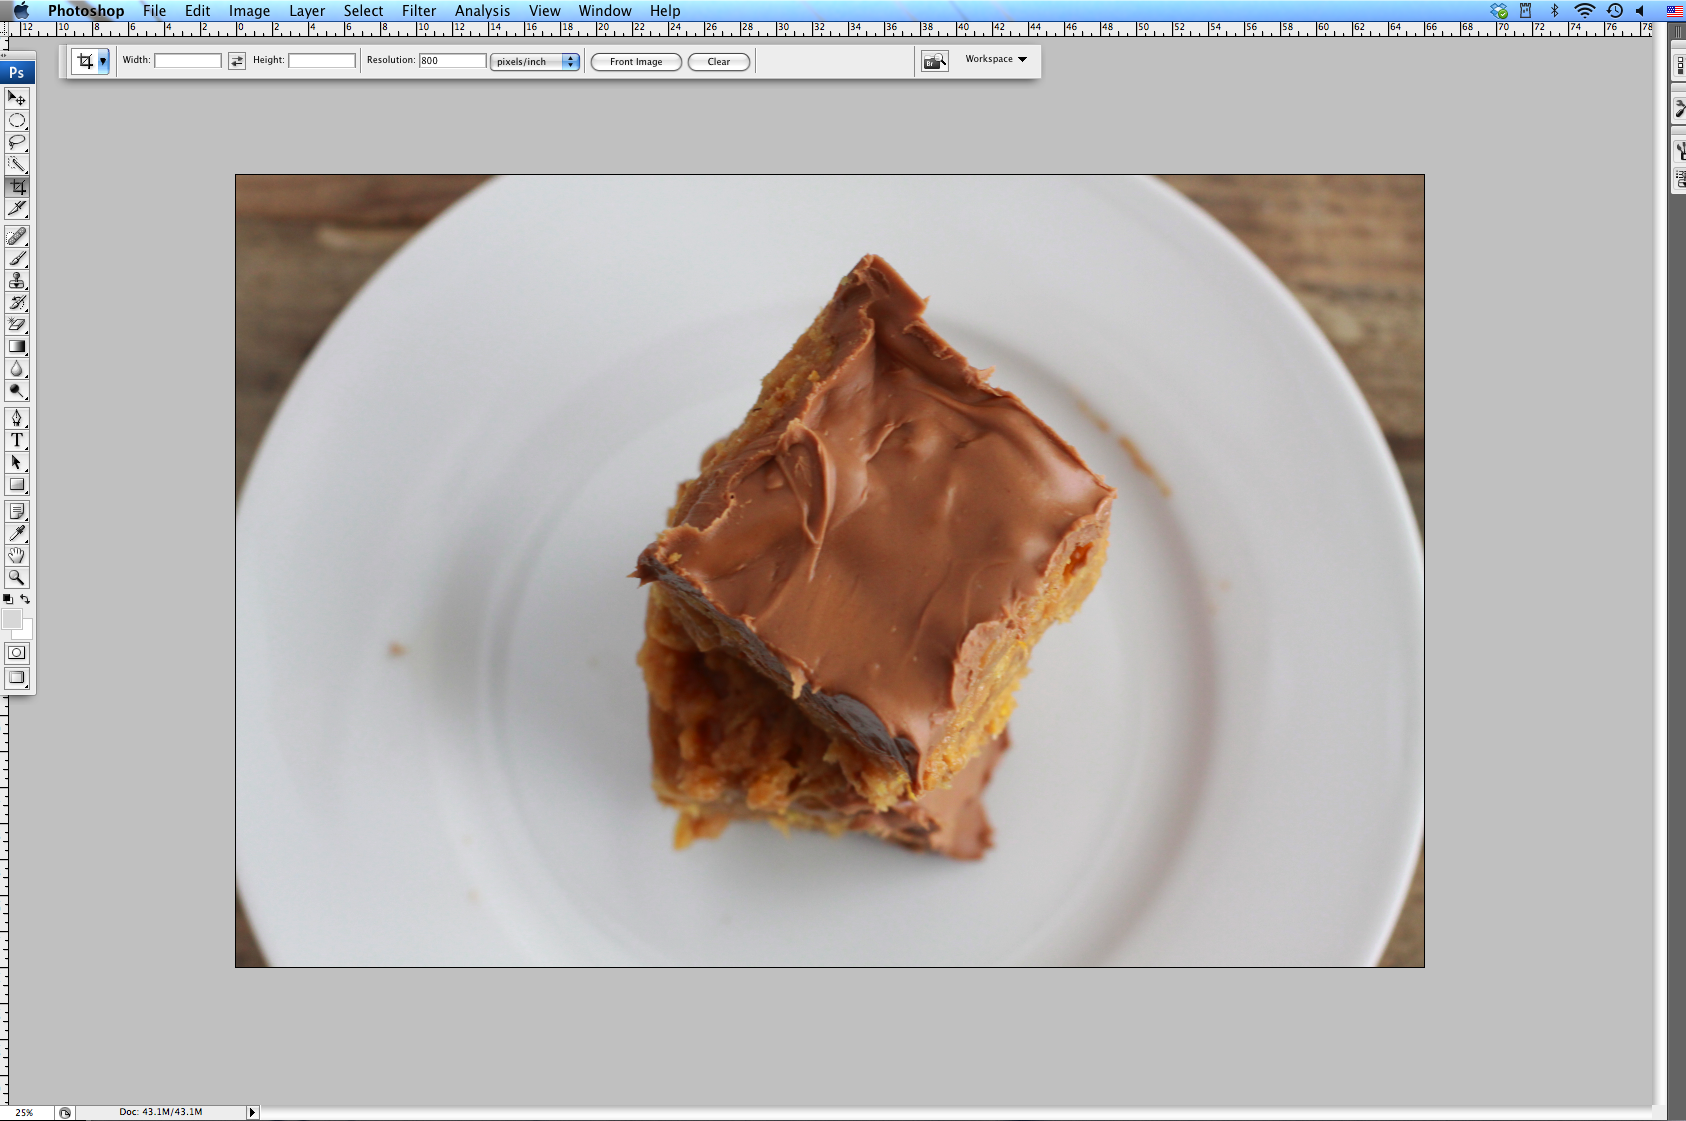
1. Open up the photo in Photoshop. If the photo requires cropping, this is the time to crop. I didn’t happen to crop this photo since the plate was a little too big and I was afraid that I would lose the wood background if I cropped it any further.
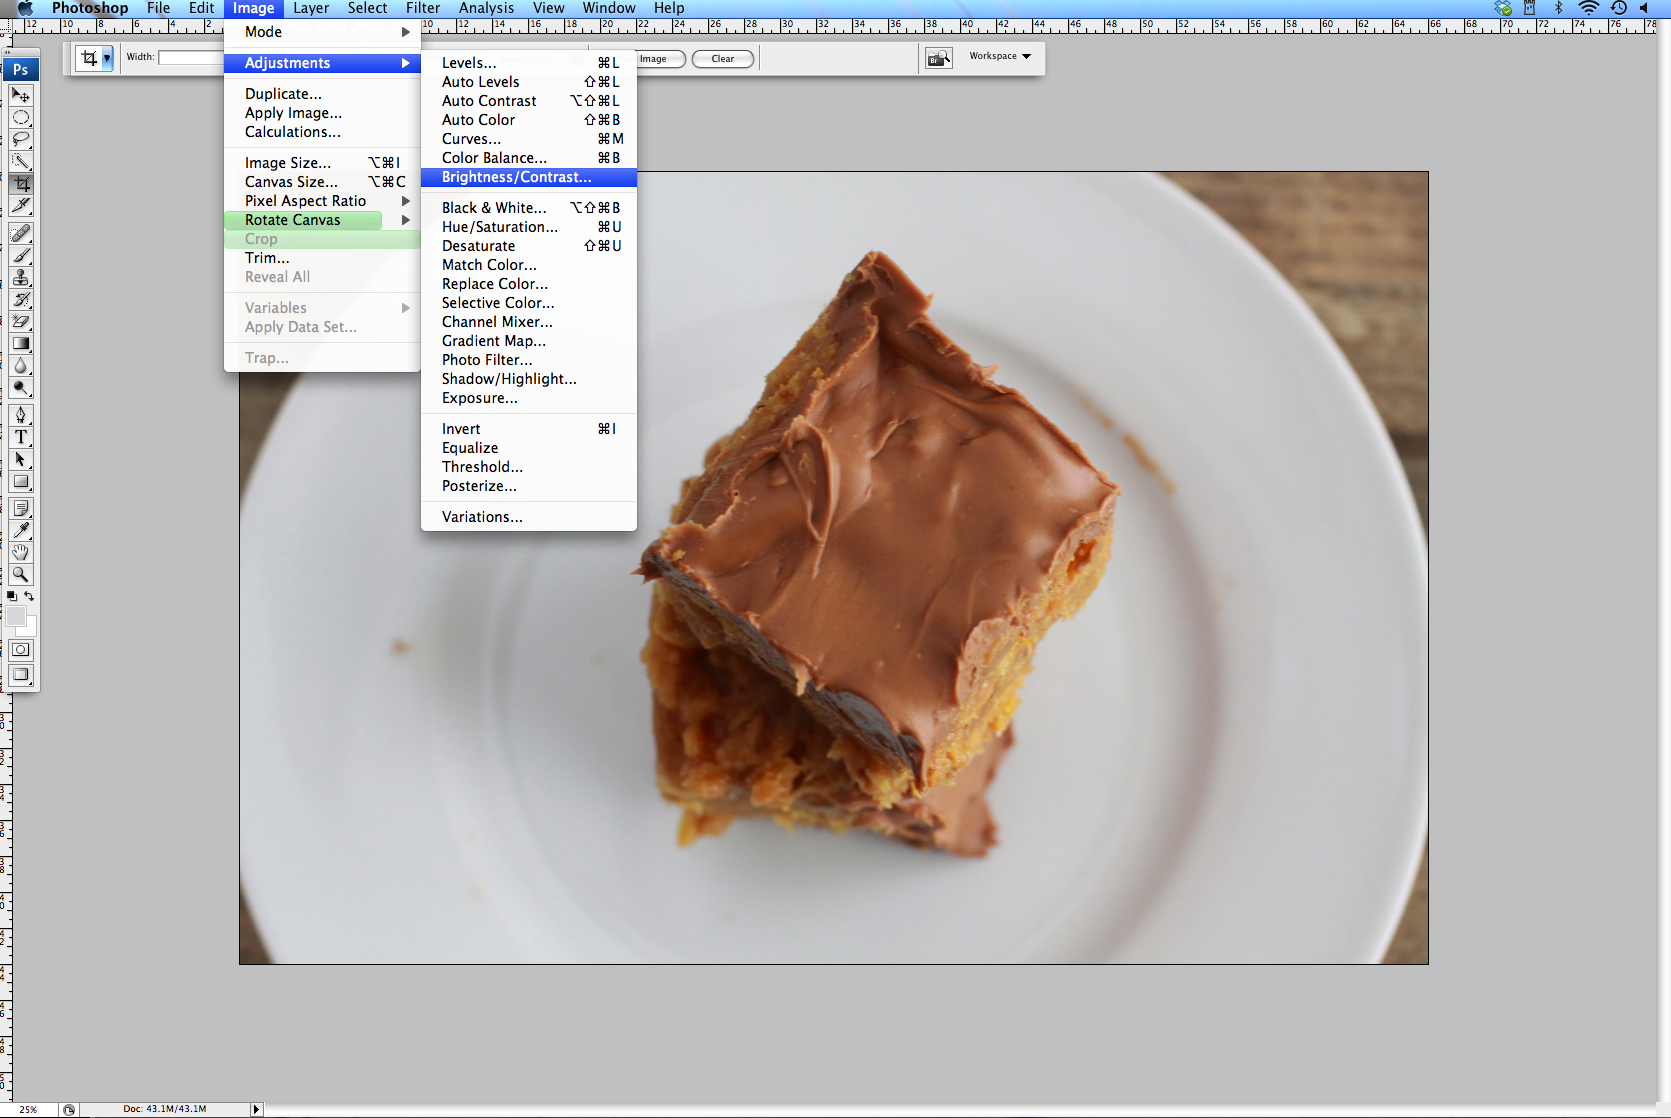
2. From the tool bar, select Image –> Adjustments –> Brightness/Contrast. I am using CS3 on my personal computer, so it might look slightly different on a more recent version of Photoshop.
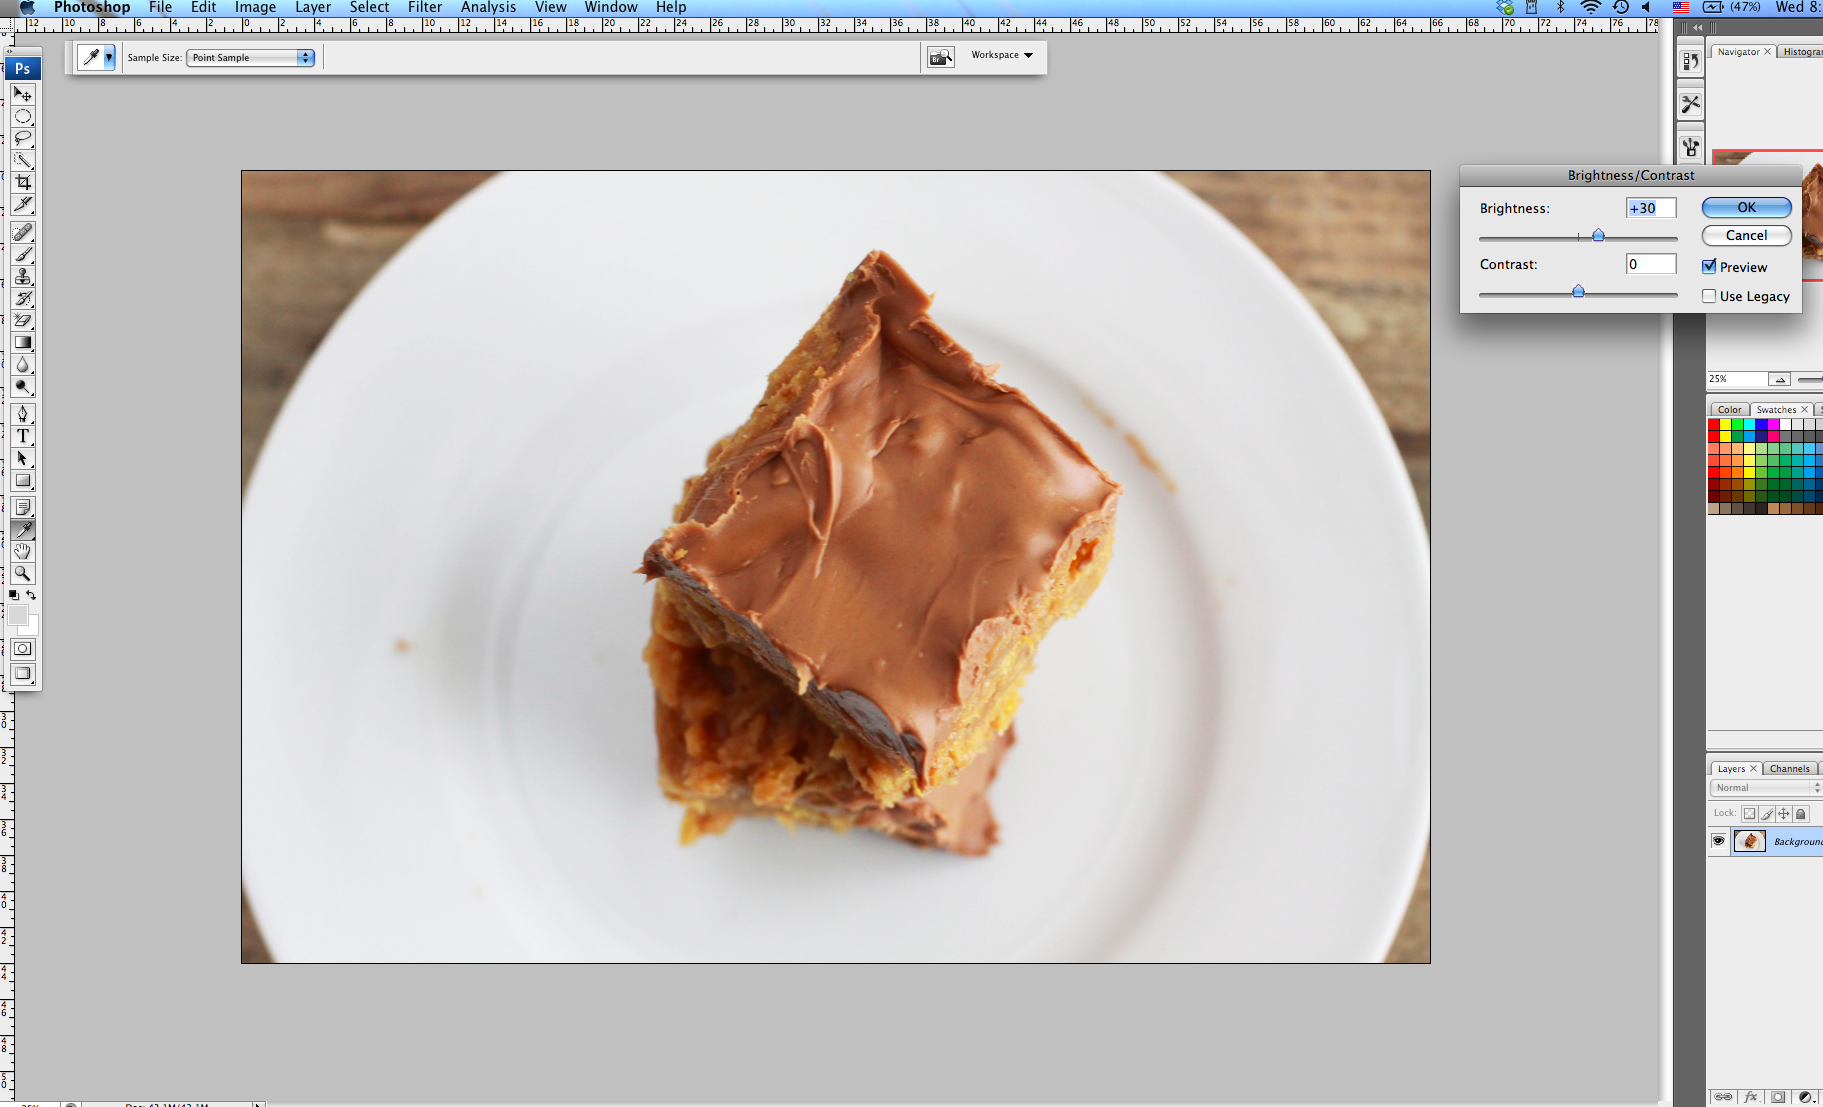
3. At this point, you can play around with the brightness, followed by the contrast. For this photo, I bumped up the brightness to 30 and I eventually elevated the contrast to 5. It’s really a personal preference as to how bright (or dull) you want to make the photo.
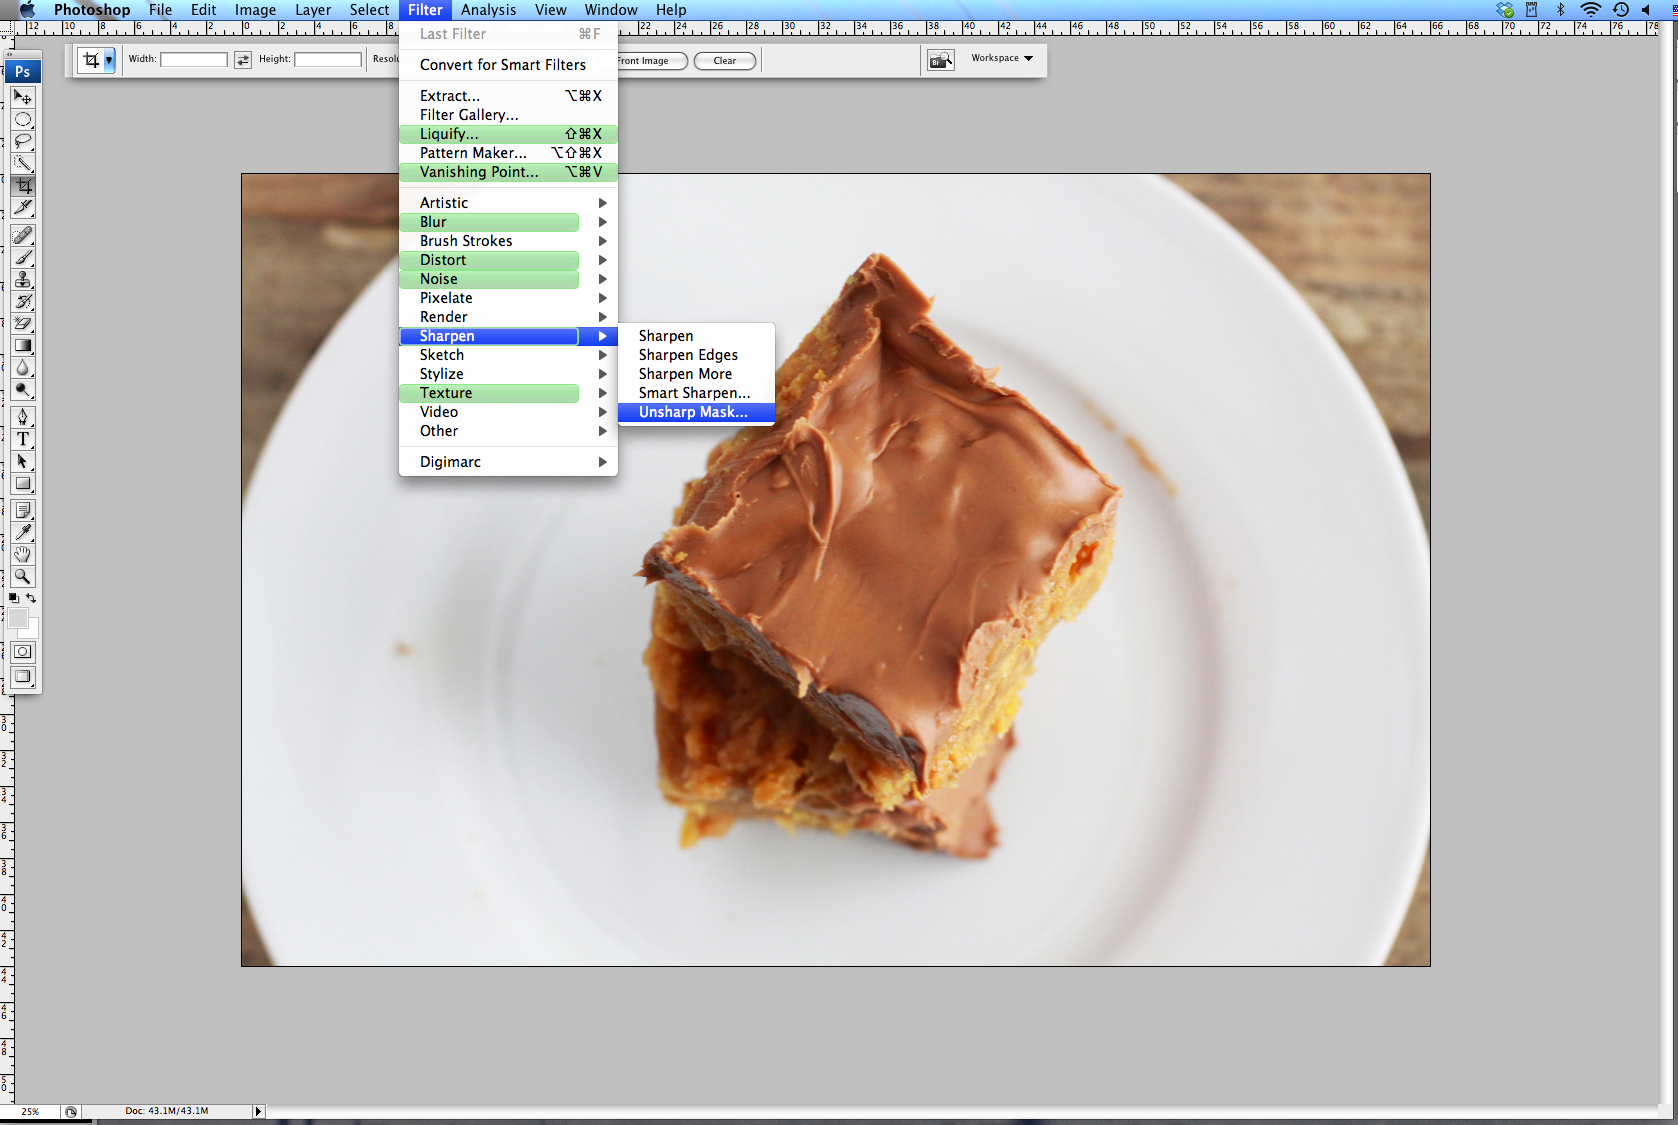
4. Once you have adjusted the brightness and contrast, you can use the Unsharp Mask tool to make your photo crisper. I don’t know why, but a photography professor in college told me that this should always be your last step. I wish I had a legitimate explanation for that. For a full tutorial on using Unsharp Mask, I found this site very helpful.
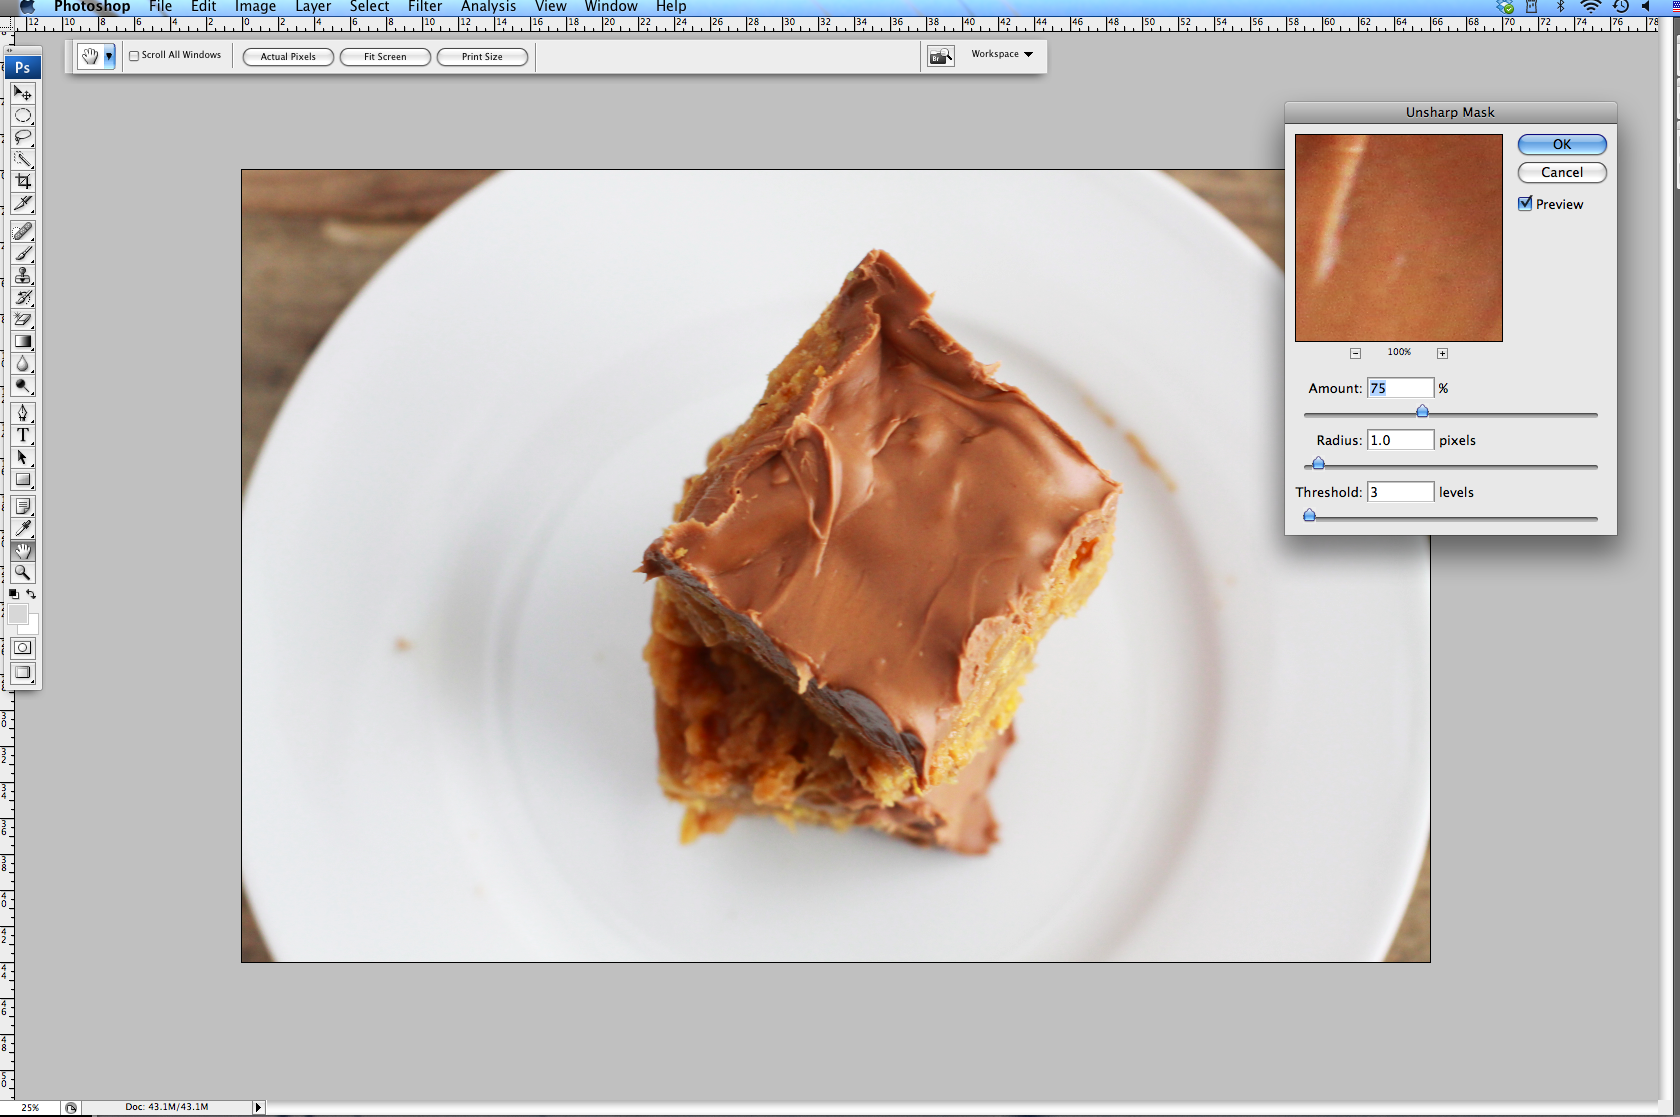
5. I tend to leave my levels around those you see above, then adjust accordingly.
And that’s it! It’s not a very advanced or complicated process, but it gets the job done when you want to add a little brightness to your photos without embarking on a giant Photoshop project. Like I said, I don’t have a deep knowledge of Photoshop, so keeping it basic works well for me. Plus, I try not to rely on Photoshop too much because I think it makes me lazy behind the camera.
Do you use a photo editing software for your photos? If so, what are your favorite tools?
One last thing…I have put together a little (very quick) survey to get to know you all better and hear how you think E&C can improve in the upcoming year. I would be SO appreciative if you would take a minute to answer a few questions. Your responses are anonymous. Take the survey HERE!
Madison